
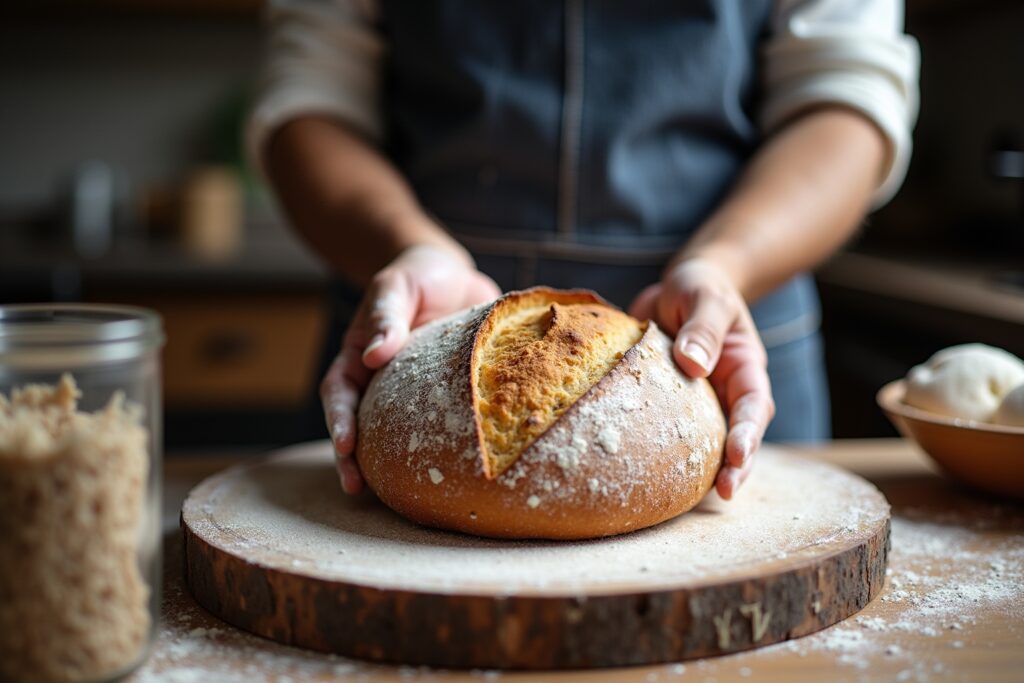
Mastering sourdough baking opens up a world of deeply flavorful, naturally leavened breads that are both satisfying to create and delicious to eat. This guide provides you with essential tips and insights to elevate your sourdough journey, ensuring consistent success from starter maintenance to the final bake.
These are the most popular Sourdough starter products
Keine Produkte gefunden.Understanding Your Sourdough Starter: The Foundation of Great Bread
Your sourdough starter is a living culture of wild yeast and bacteria, and its health directly impacts the quality of your bread. Maintaining a vibrant and active starter is paramount.
Feeding Your Starter
Regular feeding is crucial to keep your starter vigorous. The typical ratio is 1:1:1 by weight: one part starter, one part flour, and one part water. For example, if you have 50 grams of starter, feed it with 50 grams of flour and 50 grams of water. Use unbleached, all-purpose flour or a blend of whole wheat and all-purpose flour for optimal results. The type of flour can influence the starter’s activity and flavor profile.
Storage and Temperature
Store your starter at room temperature if you bake frequently, feeding it daily. If you bake less often, keep it in the refrigerator and feed it once a week. When retrieving it from the fridge for baking, allow it to come to room temperature and feed it a couple of times to ensure peak activity.
Signs of a Healthy Starter
A healthy starter will be bubbly, double in volume a few hours after feeding, and have a pleasant, slightly acidic aroma. If it smells strongly of alcohol or acetone, it may be hungry or need a more frequent feeding schedule.
Mastering Dough Hydration and Mixing
Hydration refers to the ratio of water to flour in your dough. It significantly affects the texture, crumb, and ease of handling your sourdough.
Hydration Levels Explained
Lower hydration doughs (around 65-70%) are stiffer and easier to handle, making them a good starting point for beginners. Higher hydration doughs (75% and above) create a more open crumb and a chewier texture but can be more challenging to manage.
Autolyse for Better Dough Development
The autolyse is a resting period for flour and water mixed together, before adding the starter and salt. This process allows the flour to fully hydrate and enzymes to begin breaking down starches into sugars, which aids gluten development and makes the dough more extensible and easier to work with. Aim for a 20-60 minute autolyse.
Mixing Techniques
For lower hydration doughs, you can use a stand mixer or hand-knead. For higher hydration doughs, a no-knead method with a series of stretch-and-folds is often more effective. The goal is to develop gluten without overworking the dough, which can lead to a tough crumb.
The Art of Fermentation: Bulk Fermentation and Proofing
Fermentation is where the magic of sourdough happens, developing flavor and leavening the bread. This stage involves two key phases: bulk fermentation and proofing.
Bulk Fermentation
This is the primary fermentation period after mixing the dough. During bulk fermentation, the yeast and bacteria work, producing carbon dioxide and acids that contribute to flavor and structure. You’ll typically perform a series of “stretch and folds” during this phase to build dough strength. The duration of bulk fermentation is highly dependent on ambient temperature; warmer temperatures accelerate fermentation, while cooler temperatures slow it down.
Signs of Proper Bulk Fermentation
The dough should increase in volume by 30-50%, feel airy and bubbly, and pass the “windowpane test” (where you can stretch a small piece of dough thinly enough to see light through it without tearing). Over-fermentation can lead to a gummy crumb and a flat loaf.
Proofing (Second Fermentation)
After bulk fermentation, the dough is shaped and then undergoes a second, shorter fermentation, known as proofing. This is often done in a proofing basket (banneton) lined with a floured cloth. You can proof at room temperature or in the refrigerator (cold proofing).
Cold Proofing Benefits
Cold proofing in the refrigerator for 12-48 hours slows down fermentation, allowing for a more complex flavor development and making the dough easier to score and handle before baking. It also gives you more flexibility with your baking schedule.
Shaping and Scoring Your Sourdough Loaf
Proper shaping provides the loaf with structure, while scoring allows for controlled expansion during baking.
Pre-shaping
Before the final shape, pre-shaping gently rounds the dough and creates surface tension, making the final shaping easier and helping the loaf hold its form.
Final Shaping Techniques
There are many shaping techniques, such as the boule (round loaf) or batard (oval loaf). The key is to create good surface tension without degassing the dough too much. Tuck the edges under to create a smooth, taut top surface.
Scoring for Oven Spring
Scoring is done just before baking using a sharp blade (lame or razor blade). A clean, decisive cut allows the dough to expand predictably in the oven, creating a beautiful “oven spring” and an appealing crust.
Baking Your Sourdough: Achieving the Perfect Crust and Crumb
The baking process is critical for developing the crust, crumb, and overall flavor of your sourdough.
The Importance of Steam
Steam in the initial phase of baking is essential for sourdough. It keeps the crust soft, allowing the loaf to expand fully (oven spring) and contributes to a thin, crisp crust. A Dutch oven is ideal as it traps steam released from the dough.
Dutch Oven Baking
Preheat your Dutch oven thoroughly at a high temperature (e.g., 450-500°F or 230-260°C). Carefully place your scored dough into the hot Dutch oven, cover it, and bake for the first 20-30 minutes with the lid on. This creates the steamy environment.
Finishing the Bake
After the initial steamy period, remove the lid from the Dutch oven to allow the crust to brown and crisp up. Reduce the oven temperature slightly (e.g., to 425-450°F or 220-230°C) and continue baking for another 15-25 minutes, or until the internal temperature of the bread reaches around 205-210°F (96-99°C).
Cooling is Crucial
Resist the temptation to cut into your bread immediately. Let it cool completely on a wire rack for at least 2-3 hours. This allows the crumb structure to set and prevents a gummy texture. The internal temperature will continue to rise slightly as it cools.
Troubleshooting Common Sourdough Problems
Even experienced bakers encounter issues. Here are solutions to some common sourdough challenges.
Flat Loaves
Flat loaves can be caused by an inactive starter, under-fermentation, over-fermentation, or poor shaping. Ensure your starter is active before using it, pay attention to the signs of proper bulk fermentation, and practice your shaping techniques.
Gummy Crumb
A gummy crumb is often a result of under-baking or cutting the bread too soon. Ensure the bread is baked to the correct internal temperature and allow it to cool completely before slicing.
Dense Crumb
A dense crumb can stem from using a young starter, insufficient gluten development, or a dough that was not allowed to proof sufficiently. Focus on building a strong starter and developing the dough’s structure through folds.
Burnt Bottom Crust
If your Dutch oven is too thick or your oven temperature is too high at the bottom, the crust can burn. Try placing a baking sheet on the rack below the Dutch oven to shield the bottom or reduce the oven temperature by about 25°F (15°C) during the final stage of baking.
Key Sourdough Baking Elements: A Summary
| Element | Importance | Tips for Success |
|---|---|---|
| Sourdough Starter | The leavening agent and flavor source. A healthy, active starter is non-negotiable. | Feed regularly, use unbleached flour, observe activity (bubbly, doubles in volume). |
| Hydration | Determines dough consistency, crumb structure, and ease of handling. | Start with 65-70% for beginners, gradually increase as you gain experience. |
| Bulk Fermentation | Develops flavor, structure, and leavening. Crucial for dough strength and aeration. | Perform stretch and folds, monitor dough for signs of adequate fermentation (volume increase, airy texture). |
| Proofing | Final rise to achieve the desired texture and flavor. Cold proofing enhances complexity. | Proof in a banneton, consider cold proofing for 12-48 hours in the refrigerator. |
| Baking with Steam | Essential for oven spring and a crisp crust. | Use a Dutch oven, preheat thoroughly, bake with lid on initially. |
| Cooling | Allows the crumb structure to set and prevents gumminess. | Cool completely on a wire rack for at least 2-3 hours before slicing. |
These are the latest Sourdough starter products with the best ratings.
Keine Produkte gefunden.FAQ – Frequently Asked Questions about Sourdough Baking: Die besten Tipps
What is the ideal temperature for sourdough fermentation?
The ideal temperature range for sourdough fermentation, specifically bulk fermentation, is between 75-80°F (24-27°C). Warmer temperatures will speed up fermentation, while cooler temperatures will slow it down. Consistency is key; aim for a stable environment.
How do I know if my sourdough starter is ready to use?
A sourdough starter is ready to use when it has been consistently fed and shows vigorous activity. This means it should have at least doubled in volume within 4-8 hours of feeding, be full of bubbles, and have a pleasant, slightly tangy aroma. It should also pass the float test: a small spoonful of active starter dropped into a glass of water should float.
Can I use different types of flour for my sourdough starter and dough?
Yes, you can and should experiment with different flours. For your starter, a blend of unbleached all-purpose flour and whole wheat or rye flour can promote robust activity and flavor. For your dough, using a portion of whole grain flours (like rye, whole wheat, or spelt) will add depth of flavor and nutritional value, but be mindful that they can affect hydration and fermentation times.
Why is my sourdough crust not crispy?
A soft crust usually indicates a lack of sufficient steam during the initial baking phase or insufficient baking time. Ensure you are using a Dutch oven or another method to trap steam effectively for the first 20-30 minutes of baking. Also, make sure you are baking long enough after removing the lid to allow the crust to properly crisp and brown.
My sourdough loaf is consistently dense. What could be wrong?
A dense sourdough can result from several factors: an inactive or weak starter, insufficient gluten development, under-fermentation, or improper shaping. Double-check the health and activity of your starter. Ensure you are performing enough stretch-and-folds during bulk fermentation to build dough strength. Pay attention to the visual cues of bulk fermentation, and practice your shaping to create good surface tension.
How long does sourdough dough need to proof?
Proofing times vary significantly based on ambient temperature, the starter’s activity, and whether you are proofing at room temperature or in the refrigerator. Room temperature proofing typically takes 1-4 hours, while cold proofing in the refrigerator can take anywhere from 12 to 48 hours. The goal is for the dough to become puffy and slightly increased in volume, and it should feel aerated when gently poked. It’s more about observing the dough’s behavior than strictly adhering to a time.
Is it better to bake sourdough in a Dutch oven or on a baking stone?
For most home bakers, a Dutch oven is superior for sourdough. It creates an enclosed environment that traps steam effectively, which is crucial for achieving a superior oven spring and a thin, crispy crust. Baking on a stone can also yield good results, but you’ll need to introduce steam manually into the oven, often by using a steam pan, which can be less consistent and harder to manage than a Dutch oven.


